Adding a news update or blog post keeps your visitors informed.
This guide shows you how to add a blog post in WordPress using Classic Mode. Follow these simple steps to prepare, review, and publish your article.
1. Create a new post
Log in to your WordPress website, then select Posts > Add New or Add Post from the dashboard.
Use posts for news, announcements, tips, and other updates.
2. Select Classic Mode and add your content
For news and blog posts, we recommend using Classic Mode to keep things simple.
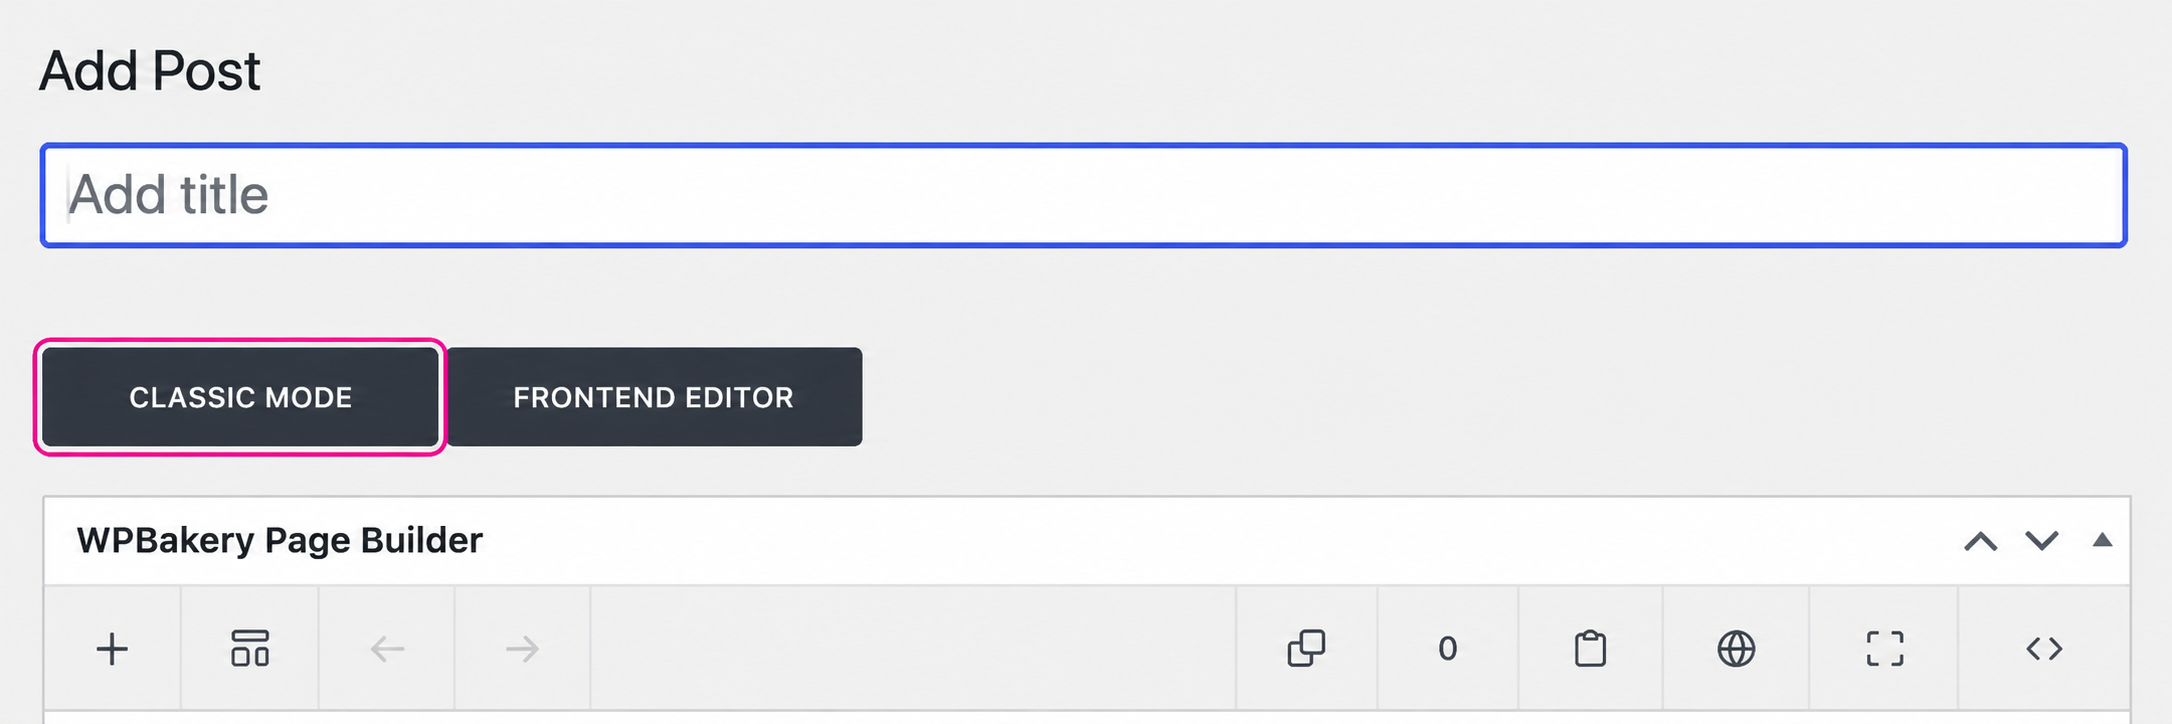
If WPBakery Page Builder is active, click Classic Mode to switch to the standard editor.
Enter your title, then select the Visual tab to write and format your article. Use the toolbar to add headings, bold text, lists, and links. Keep paragraphs short and formatting consistent.
3. Choose a featured image
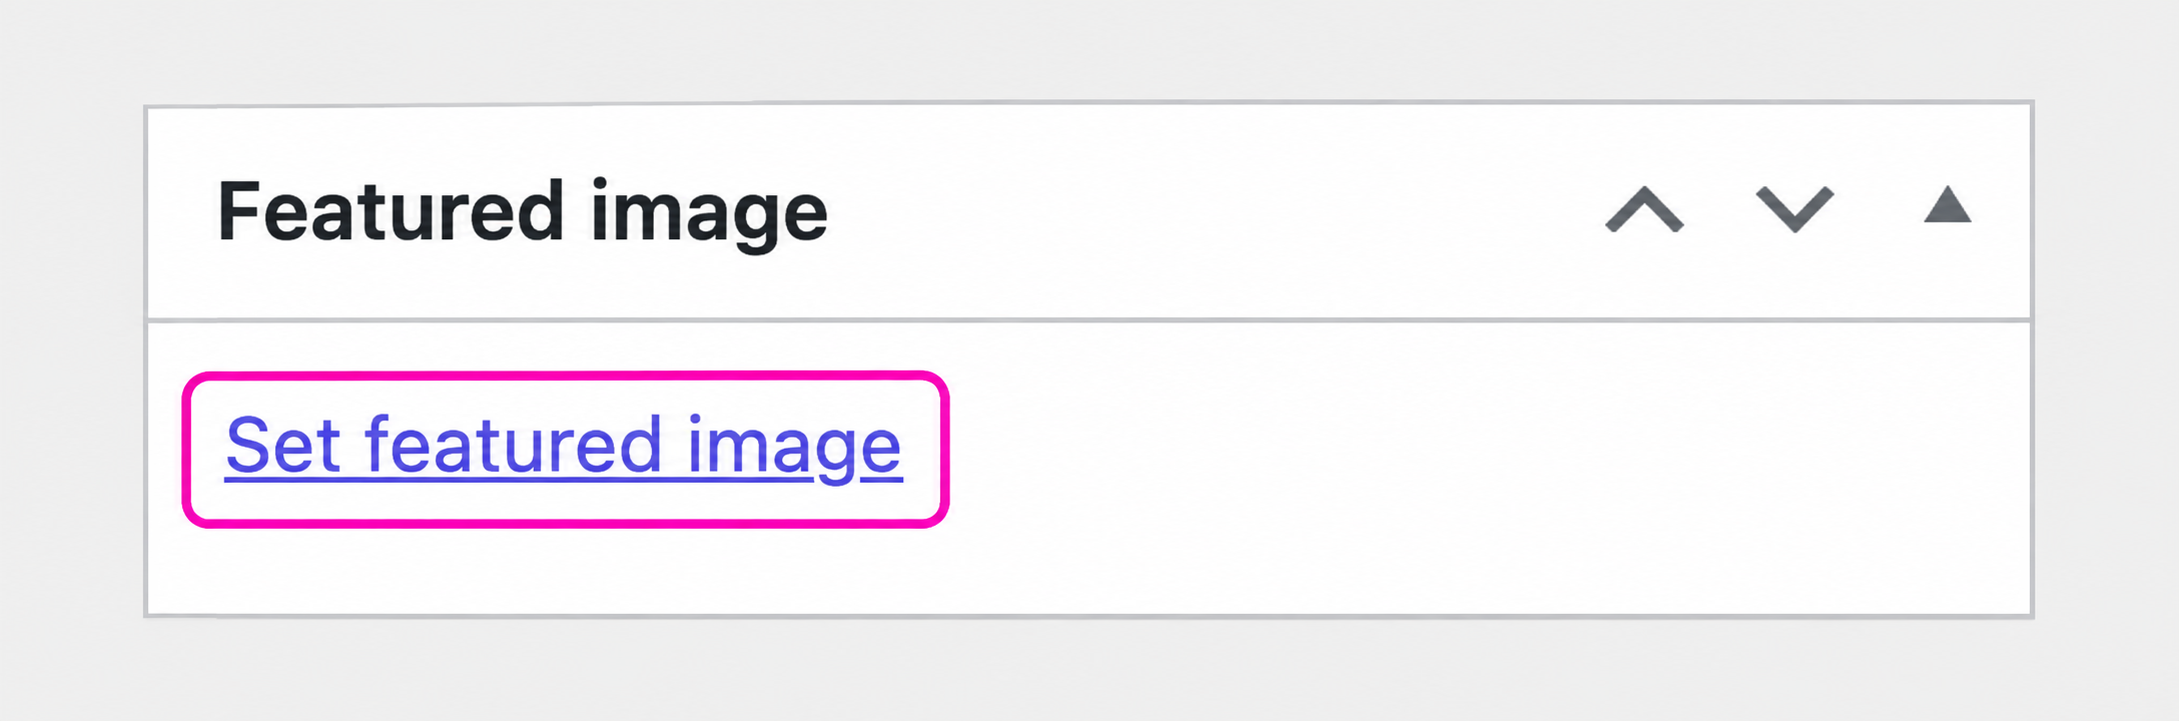
In the Featured image panel, click Set featured image, select or upload your image, then confirm your selection. Depending on your website’s design, this may appear at the top of the article and alongside its preview on your news or blog page.
Choose an image that fits the topic and matches the proportions used by your other posts.
Before uploading, review our guide to sizing images for your website. Add meaningful alt text where appropriate using our media accessibility instructions.
4. Add a category and excerpt
Select the most relevant existing Category, such as News, Events, or Company Updates. Avoid creating a new category for every post.
Write one or two short sentences in the Excerpt field. On your website, the excerpt appears beneath the post title on the blog listing, like a subtitle. Add an excerpt to every post so visitors can quickly understand what it covers.
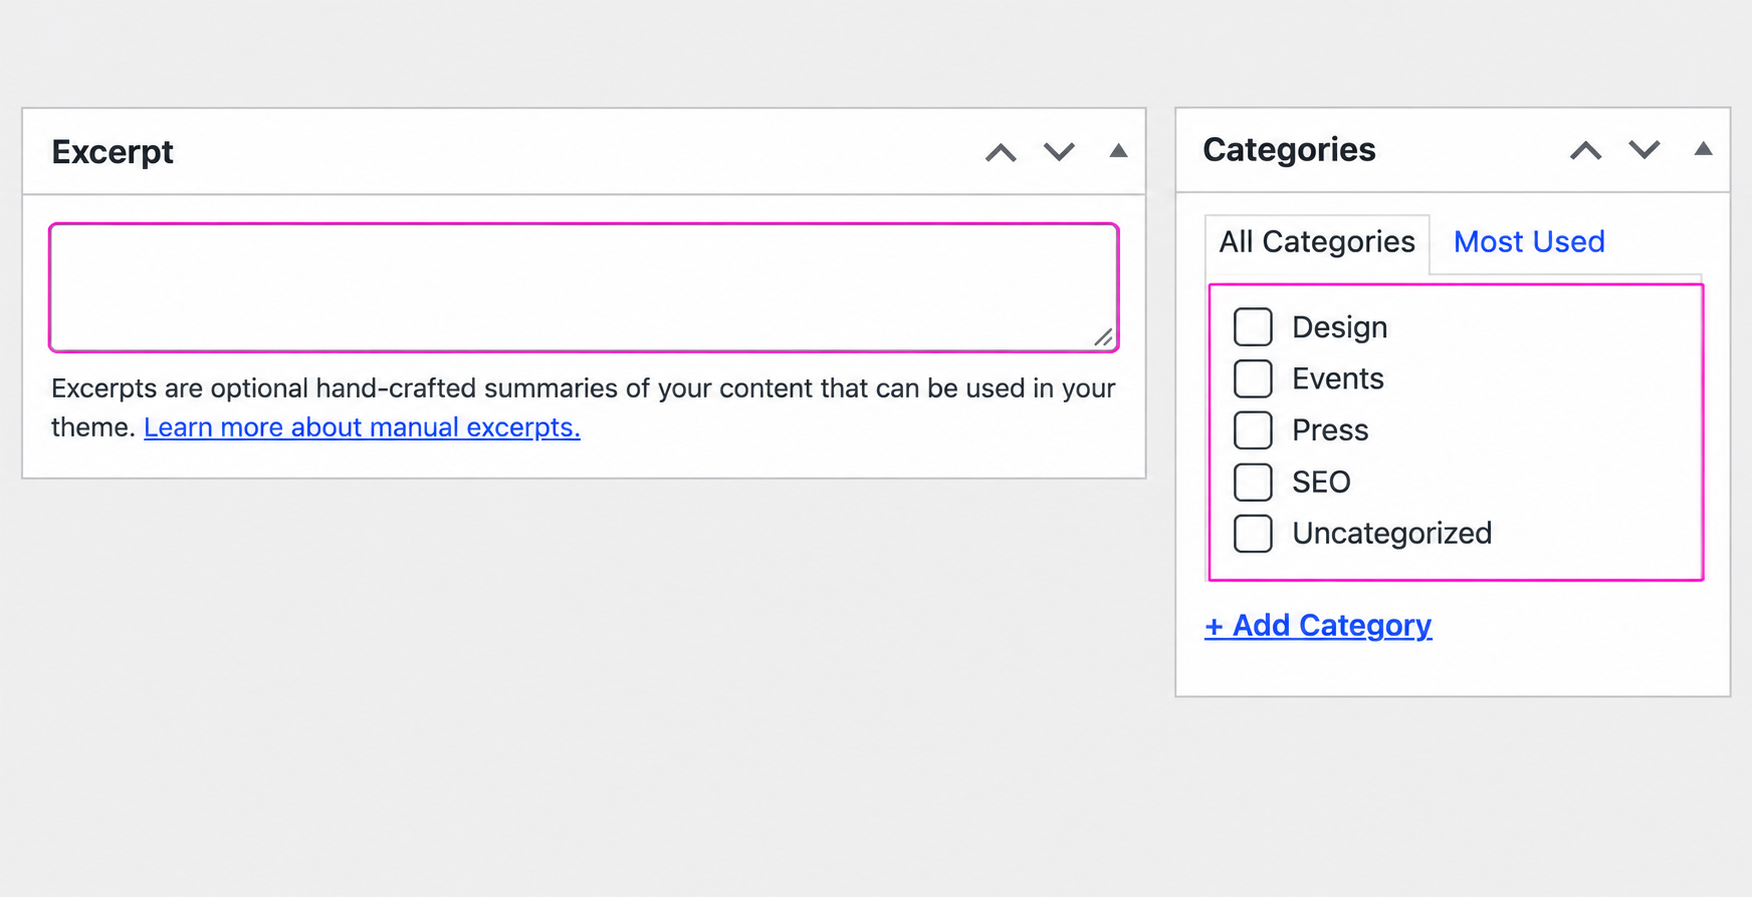
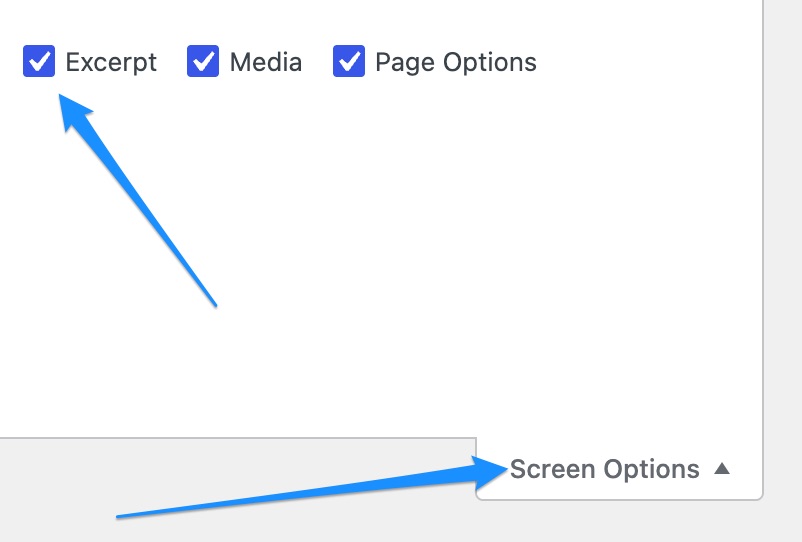
If you can’t find the Excerpt field, it probably needs to be added under the Screen Options menu, on the top right corner of the page.
5. Complete the Yoast SEO fields
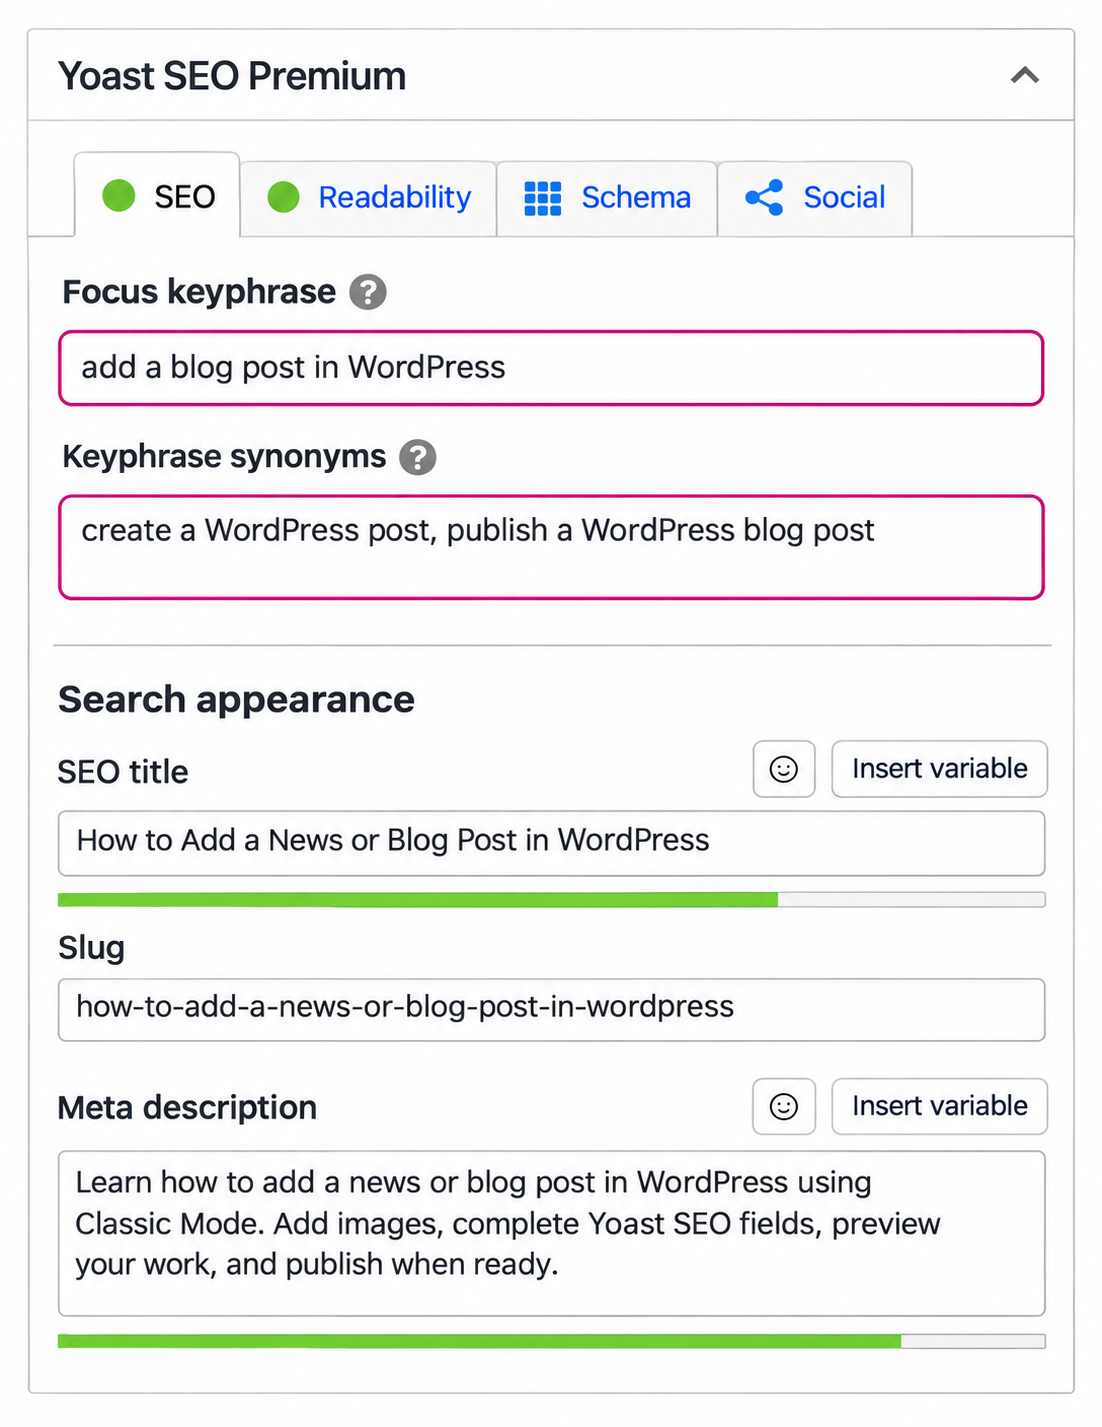
Find the Yoast SEO section and complete:
- Focus keyphrase: The main phrase someone might search for to find your article.
- Keyphrase synonyms: Natural alternatives to that phrase, separated by commas, if you use Yoast SEO Premium.
- SEO title: A clear title for search results.
- Meta description: A short summary explaining what readers will find.
Follow our Yoast SEO guide for beginners for examples and help understanding the colored indicators.
6. Preview your article
Click Preview and check:
- The title, text, and images look correct.
- Links open the intended pages.
- The layout reads well on desktop and mobile.
- Dates, names, and contact details are accurate.
Use our accessibility best practices when reviewing headings, links, and images.
7. Save or publish
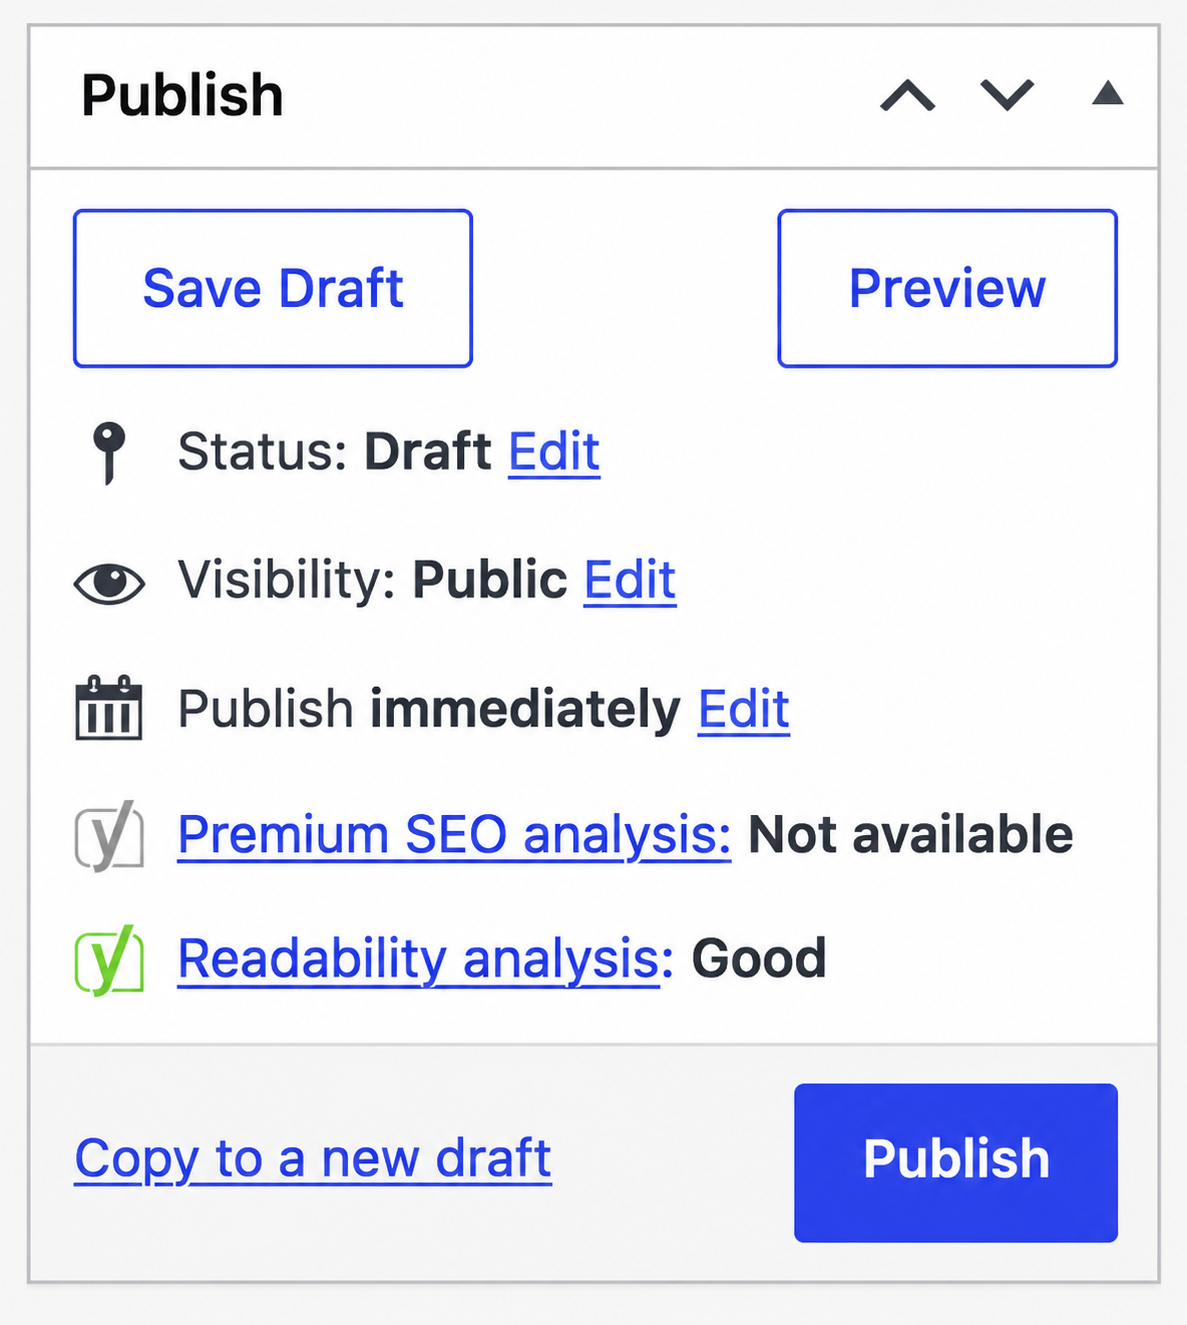
Choose Save Draft if the article needs more work or approval.
When it is ready, click Publish. To publish later, click Edit beside Publish immediately, choose a future date and time, click OK, then Schedule.
After publishing, visit the live article and your news or blog page to make sure everything appears correctly.